Database Configuration
Introduction
The Database tab is where you connect SR-BRIDGE to your SQL Server database.
Use this page during first-time setup or anytime your database server, login, or database name changes.
Overview
This page asks for the connection details SR-BRIDGE needs to reach the database securely.
If the fields are locked, turn on Enable editing first. You should only type values after editing is enabled.
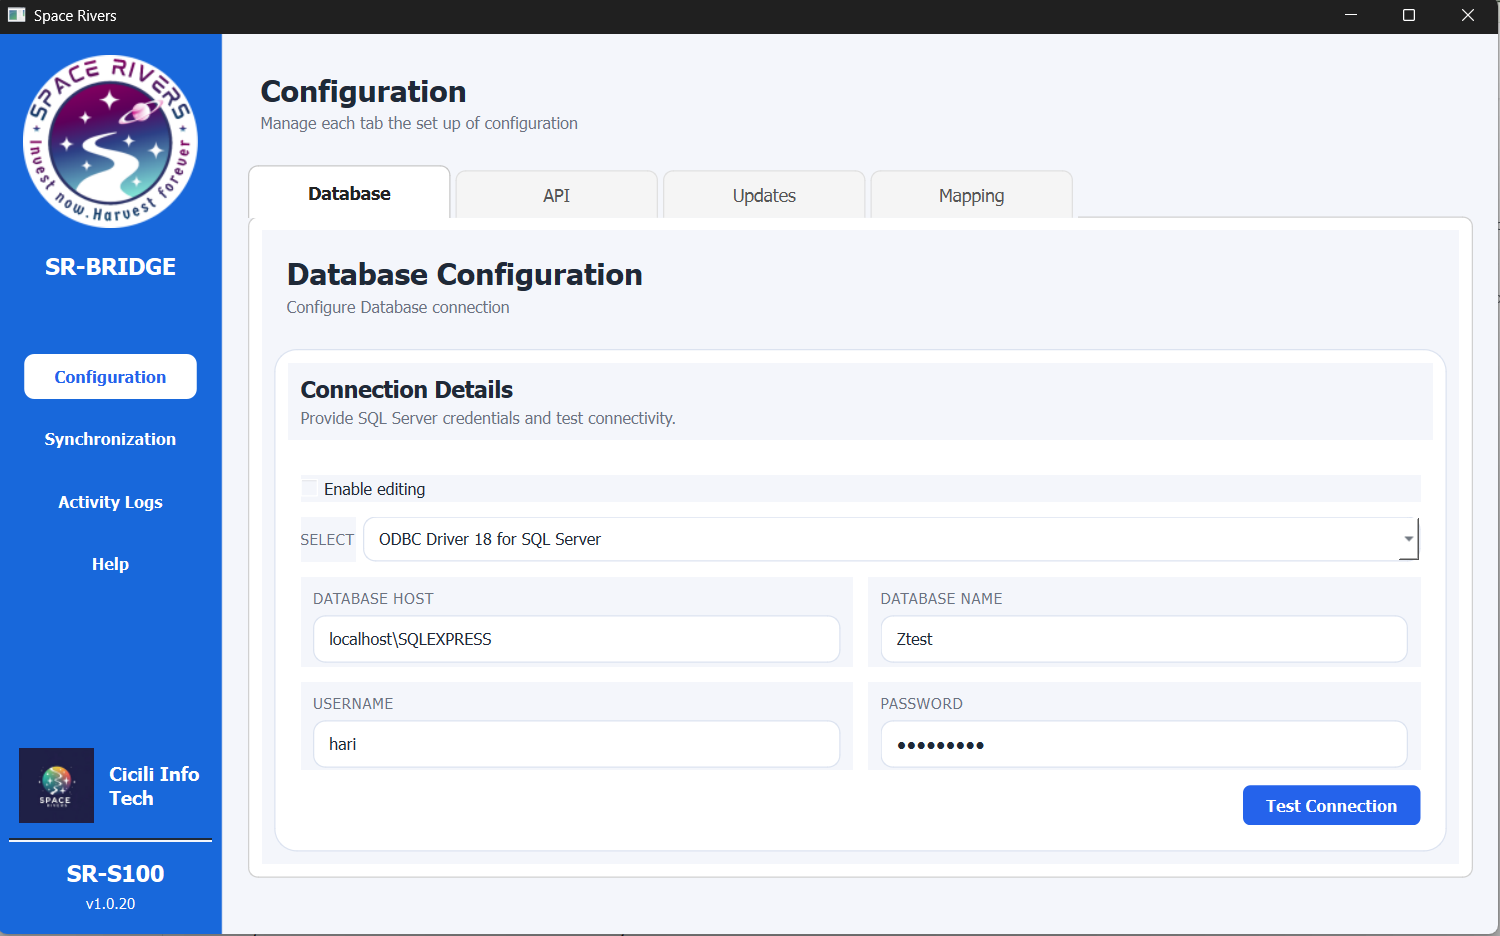
Purpose of this tab
This tab is used to:
- Choose the SQL driver to use
- Enter the database server or host name
- Enter the database name
- Enter the username and password
- Confirm that the database connection works before you move ahead
Field explanation
Enable editing
Turn on Enable editing before making any changes.
When editing is off, the fields stay read-only to prevent accidental changes.
Select
Use the Select list to choose the SQL driver.
In the current setup, the app uses ODBC Driver 18 for SQL Server. Choose the driver that matches the SQL Server environment on your machine.
Database Host
Enter the server name, host name, or SQL instance name.
Common examples:
localhostSERVER01localhost\SQLEXPRESS192.168.1.50
Enter the value exactly as given by your administrator or infrastructure team.
Database Name
Enter the exact name of the database SR-BRIDGE should open.
If you work with multiple databases, make sure you choose the correct one for this environment.
Username
Enter the database login name SR-BRIDGE should use.
Use an account that is allowed to connect to the database and read the required data.
Password
Enter the password for the database account.
The password is hidden on screen. Type it carefully, especially before testing.
Test Connection
Click Test Connection after all values are filled in.
This checks whether SR-BRIDGE can connect to the database using the details you entered.
Step-by-step setup
- Open the SR-BRIDGE desktop app.
- Go to Configuration in the left menu.
- Open the Database tab.
- Select Enable editing.
- Choose the SQL driver from the Select list.
- Enter the database host or SQL instance name.
- Enter the database name.
- Enter the username and password.
- Review the values one more time.
- Click Test Connection.
How to confirm setup
Use Test Connection to verify that:
- The selected driver is available on the computer
- The server name or host is correct
- The database name is correct
- The username and password are valid
- The server can be reached from this machine
If the test passes, the database setup is ready.
Notes and Tips
- Enable editing before typing anything.
- Use the same SQL driver version that your organization recommends.
- Check the server name carefully if you use a named instance such as
SERVER\INSTANCE. - Keep credentials secure and use approved database accounts only.
- If you are unsure about any value, confirm it before testing the connection.
Troubleshooting
The connection test fails
Check the following:
- Editing is enabled
- The SQL driver is selected correctly
- The host name or instance name is correct
- The database name is spelled correctly
- The username and password are correct
The app cannot find the server
Verify that:
- The database server is running
- The network connection is available
- Firewall rules allow access
- The host or instance name is entered in the correct format
The login is rejected
Make sure the database account has permission to connect and that the password is still valid.